XCode on your Mac is also known as an Apple developer toolkit which is, of course, intended for Apple devices such as your iOS and macOS. XCode is also considered as the best tool for those who are developers. However, projects that are made using the XCode eats up huge storage on your Mac device.It makes so much temporary cache files which just keeps on piling up on your Mac whenever you are using it.
So, when this scenario happens, the only thing that you will be needing to do is to remove all of that old cache and at the same time, uninstall XCode on Mac. And uninstalling XCode on Mac is not just merely by dragging the XCode to your trash bin. This will not completely uninstall XCode on Mac. So, if you wanted to know how you can uninstall XCode on Mac, then read through this because we are going to show you the best and the proper way on how you can do this.
Part 1. Do I Need to Uninstall XCode on Mac?
As we have said earlier, XCode is a tool that most developer’s use on making their projects, and this is a program that is made for iOS and macOS devices. However, when you tend to use the application, it automatically makes a lot of cache and junk files and is stored on your Mac. This can then result in running out of space on Mac and can also cause the application to run slow.
This is the main reason why you will be needing to uninstall XCode on Mac, especially, of course, is you are not a developer and you have nothing to do with this tool.
How Much GB is XCode?
Usually, the XCode tool can take more than 10GB of storage space on your Mac. Can you imagine running out of space because of this tool that you no longer need or use? And with this much space taken away from your Mac, it also adds up those caches that this tool automatically makes whenever you are using the tool. Your Mac can also start to run slower than it was or the tool itself. It can also make the tool freezes up or hangs up whenever you are using it.
Is it Safe to Delete XCode on Mac?
It is safe to delete the XCode tool on your Mac. However, this will also depend on how you are going to uninstall it from your Mac. You have to make sure that when you are going to uninstall anything from your Mac, always make sure that you do it the right way. That is why we have here a guide that you can follow if you want to remove or delete the XCode on Mac easily.
Part 2. How to Uninstall XCode on Mac Completely?
We say that uninstalling XCode on Mac is not as simple as dragging it to your trash bin. This will not uninstall the tool properly. The tendency is, once that you drag an application to your Trash bin, it just sits there are is still eating up space on your storage. Even if you clear out your trash bin, the files associated with the app will remain on your Mac and is still clearly eats up space on your storage. That is why one great way for you to uninstall XCode on Mac is by using a tool that can uninstall it properly from your Mac. And for that, the tool that is best recommended for this type of situation is by using the PowerMyMac.
The PowerMyMac is a one-stop tool that can optimize the system of your Mac. It can delete all of your junk files and some other files that you no longer need. It is also the best uninstaller that you can use to properly uninstall XCode on Mac easily. It can also remove all of the files that come with the XCode tool which means that you are also cleaning up space on your Mac at once.
And to show you how to use the PowerMyMac to uninstall XCode on Mac, we have included here the steps that you can follow. Download and install the PowerMyMac and then go through the steps below.
Completely Uninstall XCode on Mac using PowerMyMac
Step 1. Launch and Check Mac Status
After you have installed the PowerMyMac on your Mac, double-click on it for you to launch it. And then, it will automatically direct you to its homepage wherein you can see the status of your Mac. You will see there your disk space, memory usage, and your CPU usage as well.

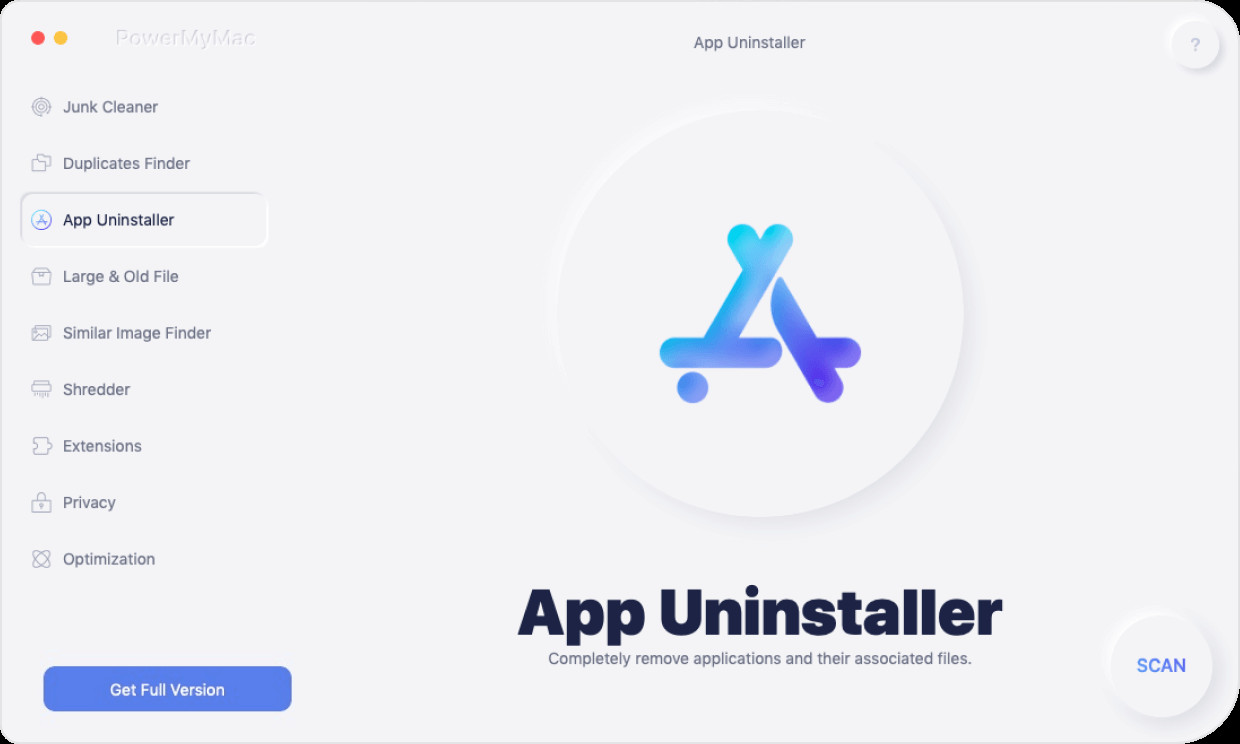
Step 2. Select App Uninstaller
And then, you will see different functionalities that you can use on your Mac. But since that we are dealing with uninstalling XCode on Mac, choose on the App Uninstaller option from the list shown on your screen.

Step 3. Scan Apps on Mac
PowerMyMac will then ask you to make a scan on your Mac. This way, PowerMyMac will gather all of the applications that you have stored on your Mac’s system.

Step 4. View Your Scanned Application
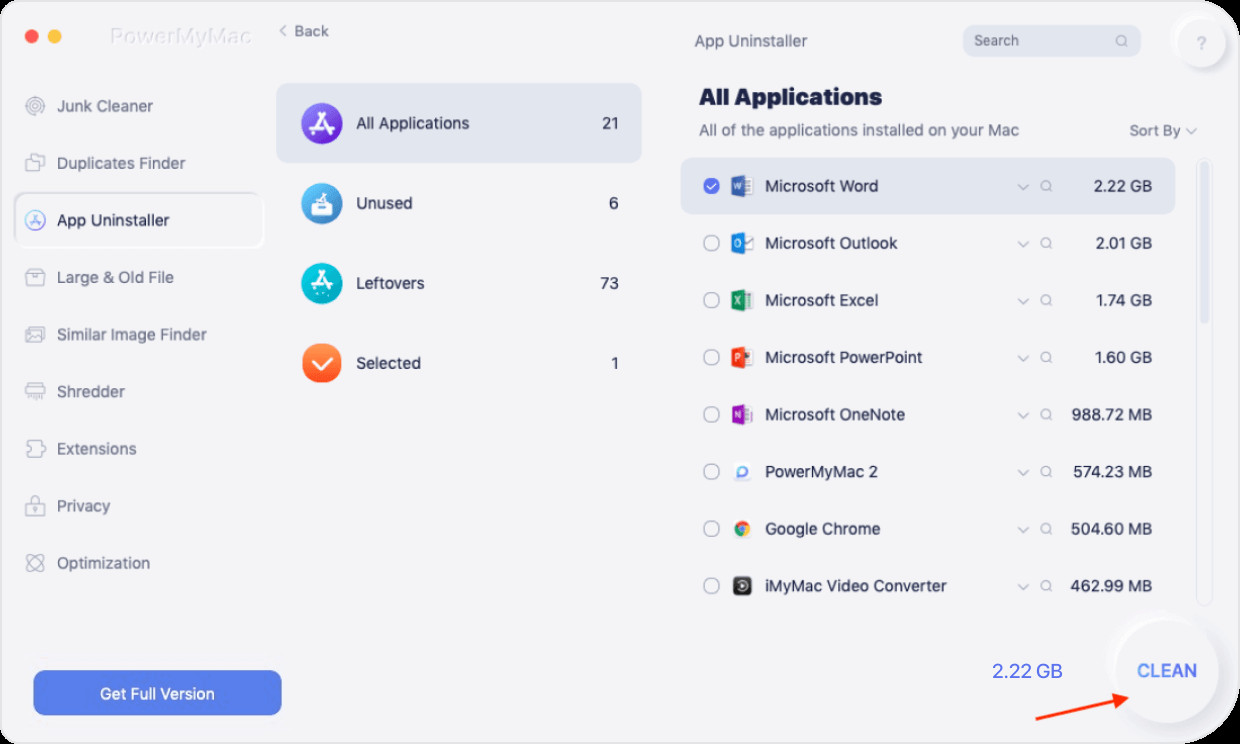
Once that the scanning process is all done, you can now view all of the apps that the PowerMyMac was able to scan.

Step 5. Look for the XCode app and choose it.
And then, on the left side on your screen, you will see lists of applications that you have stored on your Mac. From that list, scroll down and look for the XCode application and click on it for you to select it.

Step 6. Uninstall Xcode on Mac
One that you have already found and XCode, the PowerMyMac will then show you all of the files that are associated with it. So, here, all you have to do is to click on those files and then click on the CLEAN button below your screen. And then, the process of uninstalling the PowerMyMac on your Mac and deleting all of the files that comes with it will then start, so all you need to do is to wait for it to complete.
Part 3. How to Uninstall XCode on Mac Manually
Of course, you can always uninstall applications manually from your Mac. So, if you want to know how you can get this done manually then here are the things that you should do.
But before we show you the steps on how to uninstall XCode on Mac manually, you have to keep in mind that this process comes with some risks that you need to take. Some consequences might happen if you are not going to follow the instructions that we are going to show. So be very careful about this.
Now, if you are ready to take this method of manually uninstalling the XCode on your Mac, then let us proceed with the steps. Again, make sure that you follow the steps below carefully.
- Launch your Applications folder on your Mac.
- Drag XCode to your Trash Bin.
- Empty your Trash Bin.

Doing these first three steps will remove the main portion of the XCode application. And once that you are done removing it, let us now remove all of the files that come with the app you just deleted.
- On your Mac, launch your Finder tool.
- Click on the Go option located at the upper menu.
- Click on the Go to Folder option.
- After that, enter this path: ~/Library/Developer/
- And from there, look for the folder that has the name Developer on it.
- Once that you have found the folder, delete it.
But in case you have an XCode that is on an earlier version, the problem is that they leave some marks in different places on your Mac. And for you to remove them, here are the steps that you should follow.
- Launch the Terminal on your Mac.
- And then, enter the following: sudo/Developer/Library/uninstall-dev tools –mode=all
- Then you can confirm on the process by entering your Admin Password.
- Wait for the scripts to be done running on your Mac.
- Once done, quit using the Terminal tool on your Mac.
And once that you are done with that, there is one more thing that you need to do. And that is removing all of the caches connected to the XCode application. So, for you to get this done, you have to enter the path that we are going to show you below and check for any files that are associated with the XCode application.
~/Library/Caches/com.apple.dt.XCode
And from that path, check for any files that are associated with the XCode application that you have just uninstalled. And if in case you have found any, all you have to do is to clean the folder. And once that you have removed all of the things that we have shown you above, then that means the process on how to uninstall XCode on Mac is a success. And if you are planning to re-install the application on your Mac, then do so.
Part 4. How to Delete XCode Files Quickly
Now, if you are wondering how you can easily delete all of the files that come with the XCode application, you can also use the PowerMyMac for you to do. There is a cleaning option for you to do this task. So, once that you have launched the program on your Mac, check out its status after you have uninstalled the program.
And then, simply choose the Master Scan option. In the system junk option, you will see there a lot of files, so the best thing on how you can do this is by deleting those junks that actually come with the XCode application. And once you have found all of the files associated with it, click on them to mark them one by one and then click the Clean button below your screen to proceed with the cleaning process. Then just wait for it to complete.
Part 5. Conclusion
As you can see, uninstalling XCode on Mac manually can be done with an extra careful. This way, you will prevent something that might happen worst in the future. But if you want to make sure that you are going to do all this best and easy way, then we highly recommend that you make use of the PowerMyMac
.